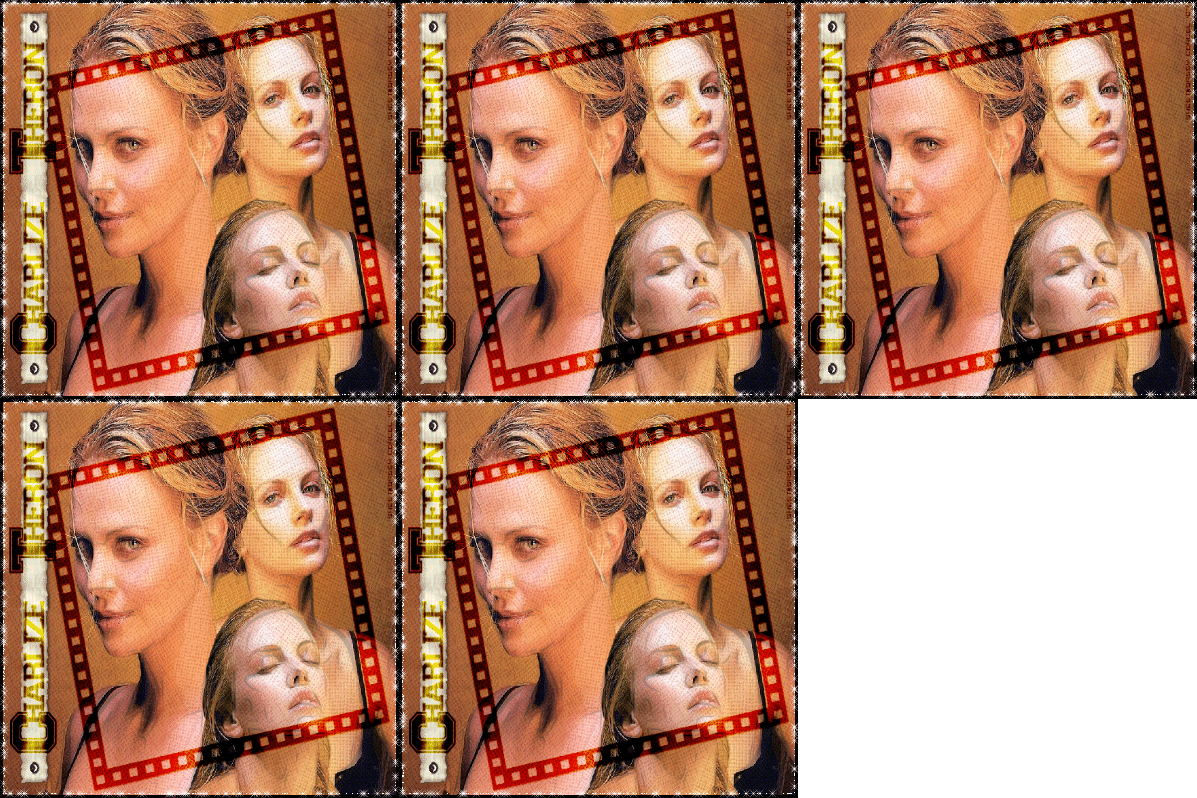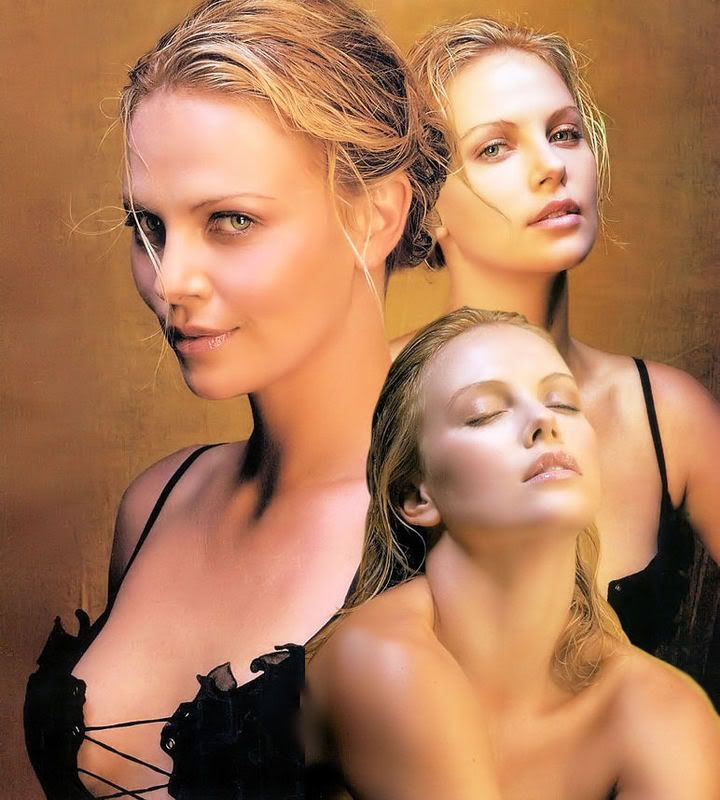

Supplies: Psp, Font Varsity, PlugIn Virtual Painter HERE [usually comes with Psp], Frame & Strip from ScrapKit Memories ©Scrappy Expressions, ImageBlend of Actress Charlize Theron, Bling frame from ©Roberta Designz.
1.Open your blend image in psp [duplicate & close the original]
2.Duplicate the background layer.
3.Now step in the original background layer go to: Effects/Plugins/Virtual Painter/Collage you can change the settings as you like, just hit preview:
3.Now step in the original background layer go to: Effects/Plugins/Virtual Painter/Collage you can change the settings as you like, just hit preview:

4.When you finish, hit ok.
5.Them step in your copy of background layer, low the opacity to 80%.
6.Now copy the Film frame, and paste as new layer in your canvas, over the faces in your image.
7.Change the blend mode of this layer to Burn.
8.Now copy the strip, and paste as new layer in your canvas.
9.Move this to the left side of your image.
10.Add a new layer.
12.Active your text tool, i use color #6A5307, select a font.
13.Add the actress name.
14.Do not deselect the text, go to Image/Rotate free/90º/left.
15.Move the text over the strip, deselect.
16.Change the blend mode of this text layer to Burn.
17.If you like add your nickname in a new layer.
18.Add your watermark, and merge all flatten.
19.I finally copy my image and open the Animation Shop program.
20.Paste the blend as new image, duplicate the frame 5 times, and I add the bling.
21.Save your work, & that's all.!
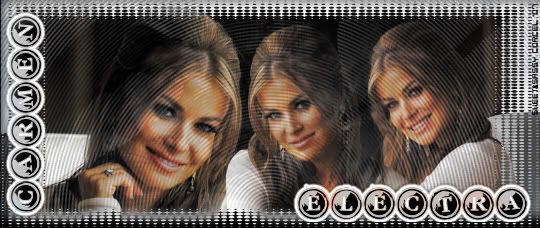
Here is another example i change the Hue&Saturation of the image, and plugin settings.
 Them Done!, thanks and I hope you've enjoyed!Tutorial write on April, 7 '07 by AngieCorcelThis tutorial is my own creativity, any resemblance to any other is purely coincidentaly.
5.Them step in your copy of background layer, low the opacity to 80%.
6.Now copy the Film frame, and paste as new layer in your canvas, over the faces in your image.
7.Change the blend mode of this layer to Burn.
8.Now copy the strip, and paste as new layer in your canvas.
9.Move this to the left side of your image.
10.Add a new layer.
12.Active your text tool, i use color #6A5307, select a font.
13.Add the actress name.
14.Do not deselect the text, go to Image/Rotate free/90º/left.
15.Move the text over the strip, deselect.
16.Change the blend mode of this text layer to Burn.
17.If you like add your nickname in a new layer.
18.Add your watermark, and merge all flatten.
19.I finally copy my image and open the Animation Shop program.
20.Paste the blend as new image, duplicate the frame 5 times, and I add the bling.
21.Save your work, & that's all.!
Here is another example i change the Hue&Saturation of the image, and plugin settings.
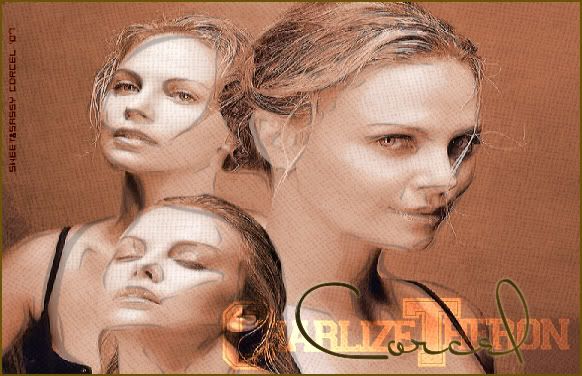 Them Done!, thanks and I hope you've enjoyed!Tutorial write on April, 7 '07 by AngieCorcelThis tutorial is my own creativity, any resemblance to any other is purely coincidentaly.
-------------------------------------------------------

 10.Go to: Edit/Cut and back to: Edit/Paste As New Image.