

*I don't claim all the supplies as my owns*
1.Open new canvas 600x600 in psp, transparent.
2.Open the supplies [hand/bubble]
3.Copy them and paste as new layers in your new canvas.
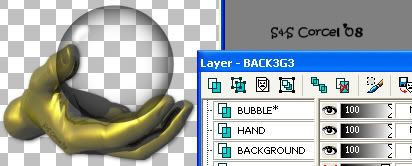
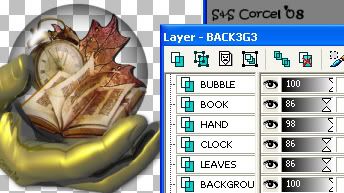
4.Arrange your two layers like this:
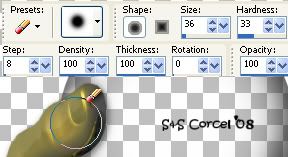
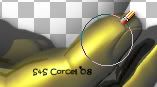
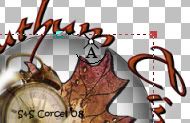
5.Step in the Bubble layer, active the eraser tool, erase the side over the fingers with this settings:
6.At this point add your tubes to place them inside the bubble [reduce size if necesary] low the opacity:
7.Add a soft shadow to your hand tube and to the other tubes you use.
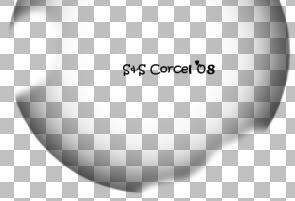
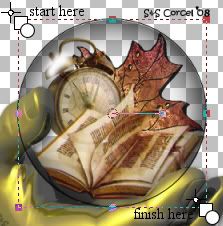
8.Active the Preset Shape tool-circle and draw a vector around the bubble with this settings:
![]()
9.Active now the Text tool select a font, size and colors of your choice.
10.Add Inner Bevel to your text and a soft shadow.
11.Finaly add a nice background [or use mine Back3g3] low the opacity 50%.
12.Add your watermark. Merge all the layers visibles, and crop the excess around your image, export/save as .jpg format.

Them Done!, thanks and I hope you've enjoyed! Tutorial write on Jan. 26 '08 by AngieCorcel. This tutorial is my own creativity, any resemblance to any other is purely coincidental.
----------------------------------------------------------------------


