1.Open a new canvas 600x600 transparent in PSP.
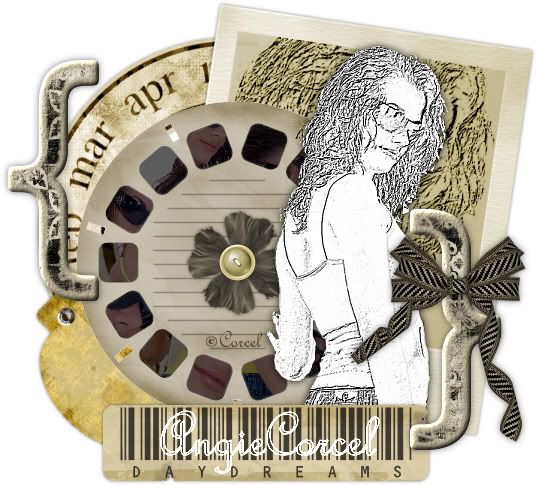
2.First I made my own tube, using a photo, I clear the background with the Magic Wand tool.
3.And apply the scketch effect, go to: Effects/Art Media Effects/Black Pencil and set up: detail 90, opacity 100. Ok.
- Sstyle_CherishedMemory_ViewFinder
- Sstyle_Seashore_Polaroid
- Sstyle_CherishedMemory_Flower_2
- SS_Daydreams_BarcodeLabel
- SS_Daydreams_FolderTab
- SS_Daydreams_MonthWheel
- SS_FunInTheSun_Button_1
- Sstyle_CherishedMemory_Alpha_Brackets
- Sstyle_CherishedMemory_Bow_2
5.I change the color of the button and polaroid, go to: Adjust/Hue & Saturation/Colorize and set up: Hue 35, Saturation 78. Ok.
6.I fill the windows in the ViewFinder, using the magic wand tool, and copy the pieces you like from your original tube, and paste into selection in a new layer, and arrange this layer to bottom.
7.Now I selected inside of the polaroid frame, and copy my sketch tube and paste into selection in a new layer, and change the blend mode to Burn.
8.You can resize the elements as you needed.
9.Arrange the elements in the way I show in my tag, or play with them exploting your creativity.
10.Finally insert your nick with a nice font, add a drop shadow to each element layers, merge visible, but don't forget your watermark and the ©info of your image, crop the excess, export/save.
Them Done!, thanks and I hope you've enjoyed! Tutorial write on May 4 '08 by AngieCorcel. This tutorial is my own creativity, any resemblance to any other is purely coincidentally.
--------------------------------------------------------------


