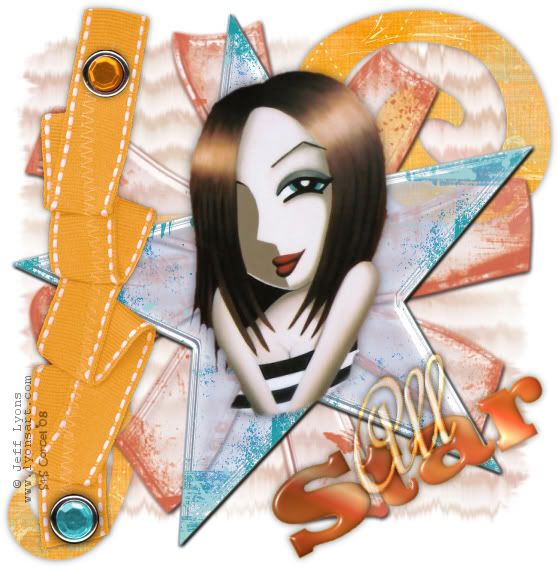
Supplies: PSP, Scratch Mask by me HERE, Scraps Elements from Memory Makers "Wild Sorbet" HERE [read instructions] and I Uploaded in HERE, Font and Tube of your choice, I use artwork from ©Jeff Lyons.
1.Open a new canvas 600x600, transparent in Psp.
2.Open the Scratch Mask, and minimize.
3.Back to your new canvas, fill the layer with a color or pattern paper.
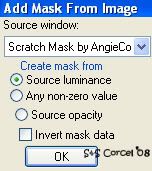
4.Go to: Layers/New Mask Layer/From Image/Add Mask from Image, and apply scratch mask, Merge group.
5.Now from the kit, copy [MCO_PaintedStar] and paste as new layer in your canvas, duplicate this layer.
6.Then copy one of the other elements [MCO_Painted -Star or Flower], paste as new layer in your canvas.
7.Now copy one of the ribbons [MCO_Ribbon_Bits], paste as new layer, resize as needed, and move to the left.
8.Add Drop Shadow: v-h 0, opc 50, blur 10, color black.
9.Now copy 2 brads from [MCO_ColoredBrads], and paste as new layer, move to the corners of the ribbon, add shadow.
10.Copy your tube and paste as new layer, center over the star, add shadow.
11.Finally copy the [MCO_Swirly_Que] and paste as new layer, arrange this layer before the mask, add shadow.
12.Add your nick with a nice font, and don't forget your watermark and the ©Info of your image.
13.Merge layers visible, crop the excess of your image, and save.
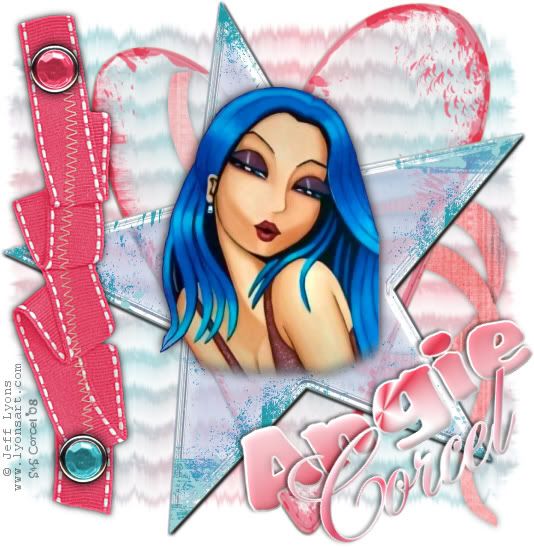
Them Done!, thanks and I hope you've enjoyed! Tutorial write on April 11 '08 by AngieCorcel. This tutorial is my own creativity, any resemblance to any other is purely coincidentally.
--------------------------------------------------------------------

