
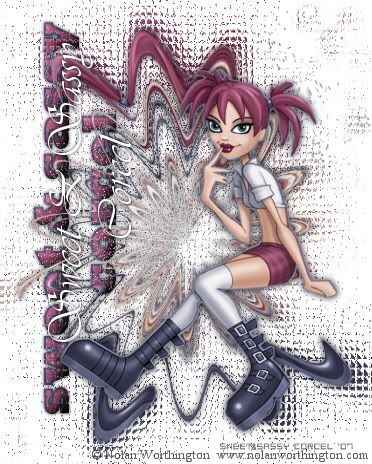
Supplies: Psp, PlugIn Dsb Flux HERE, Fonts & Tube of your choice. I use artwork from ©Nolan Worthington.
1.Open one tube in your psp, duplicate and close the original, resize if is needed.
2.In the layer palette duplicate the tube layer.
3.Apply to this duplicate layer twirl effect, go to: EFFECTS/DISTORTION EFFECTS/TWIRL: 720 degrees.
4.Now apply to this layer the dsb flux, go to: EFFECTS/PLUGINS/DSB FLUX/GEARS [gears 15, strength 20] you can play with this settings.
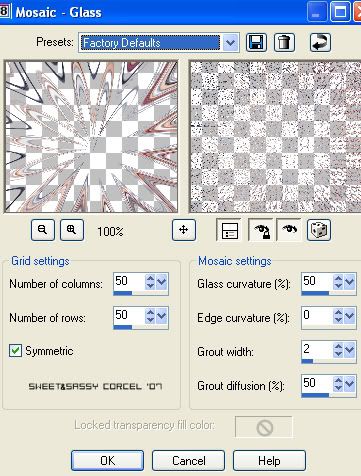
5.Duplicate this layer, and apply to this a texture, just go to: EFFECTS/TEXTURE EFFECTS/MOSAIC-GLASS, with the factory defaults settings.
6.Now move this layer to the bottom of your canvas, go to: LAYERS/ARRANGE/SEND TO BOTTOM.
7.Them move your tube to top, with the tube layer active, go to: LAYERS/ARRANGE/BRING TO TOP.
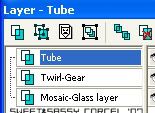
8.Your layer palette have to look like this:
9.I resize my tube 75%, and the layer with the twirl 90% [resize yours as you like]
10.Apply both layers a drop shadow: EFFECTS/3D EFFECTS/DROP SHADOW: Vert & Horiz 0, Opac 80, Blur 10, color black.
11.Don't forget to add the ©Info of your tube, and your watermark.
12.In a new layer apply your text with a bold font [i use Rockwell extra bold], apply this the same drop shadow before but low the Blur 5.
13.Change the Blend mode to the text in your layer palette to Screen.
14.Now with a nice script font [i use Vivaldi] repeat the text with color white, move over the bold text, and apply the same drop shadow before.
15.Finaly go to: LAYERS/MERGE/MERGE ALL [FLATTEN]
16.Save your work, and that's all.
Them Done!, thanks and I hope you've enjoyed! Tutorial write on Feb. 18 '07 by AngieCorcel. This tutorial is my own creativity, any resemblance to any other is purely coincidentaly.
--------------------------------------------------------------------------------


