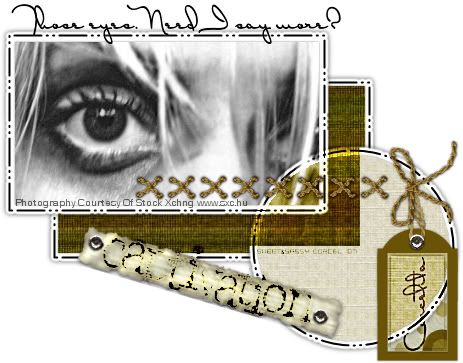
Supplies: Psp, Fonts [I use Dr Carbfred & Harting Plain], PlugIn Eye Candy 4 HERE, ScrapKit Memories from ©Melissa SentimentalStyle, I use the Photography Courtesy Of Stock Xchng, HERE. I will explain all the steps, but if you want to skip the shapes [rectangle&circle], HERE is my template.
1.Open a new canvas 600x600 transparent in psp.
2.Active your preset shape tool, set color palette: foreground black and background white.
3.Trace a rectangle in the middle of your canvas, settings like this:
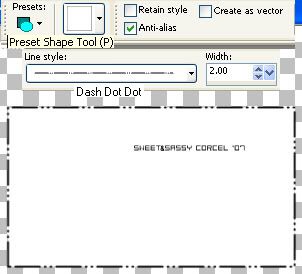
4.Apply Effects/Plugins/Dsb flux/Gradient glow/fat:
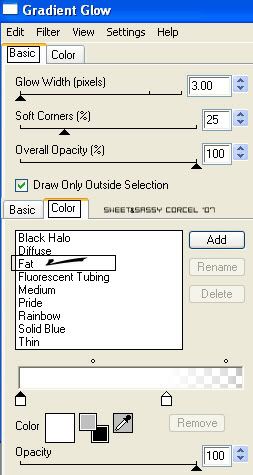
5.Now apply Effects/3D Effects/Drop shadow: vert-horz 0, opc 70, blur 7, color black.
6.Duplicate this rectangle layer.
7.Open your image and select the eyes with your selection tool, set to rectangle.
7.Open your image and select the eyes with your selection tool, set to rectangle.
8.Go to Edit/Copy.
9.Back to your canvas and active your selection tool rectangle and select inside of your white rectangle:
9.Back to your canvas and active your selection tool rectangle and select inside of your white rectangle:
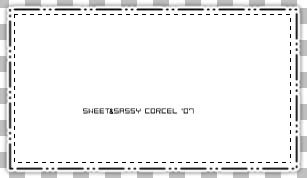
10.Add a new layer and go to Edit/Paste Into selection:
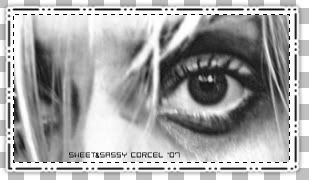
11.Deselect.
12.Active the copy rectangle layer.
13.Move this a little rigthdown side.
14.Active your selection tool rectangle again and select inside of this white rectangle.
15.Open one pattern paper from the scrap kit and go to Edit/Copy.
16.Back to the selection in your canvas and go to Edit/Paste into selection:
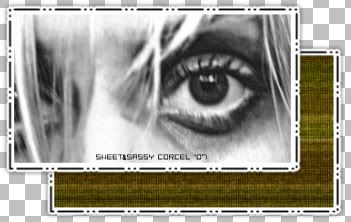
17.Deselect.
18.Add a new layer and active your preset shape tool, with the same settings before but use ellipse.
19.Trace the ellipse on the rigthdown corner of your image.
20.Apply Effects/Plugins/Dsb flux/Gradient glow/fat.
21.Now apply Effects/3D Effects/Drop shadow: vert-horz 0, opc 70, blur 7, color black.
22.Active your selection tool ellipse and select inside of your white circle.
23.Add a new layer, copy another pattern paper and go to Edit/Paste into selection:
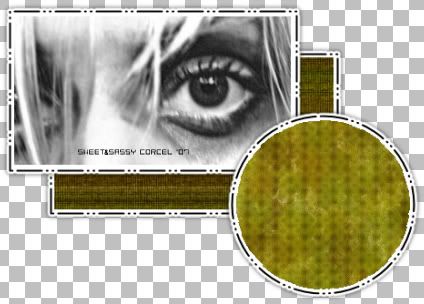
24.Do not deselect yet.
25.Add a new layer again and copy another pattern paper and paste into selection. Deselect.
26.Now active the selection tool rectangle trace one in the circle, and hit delete in your keyboard like this:
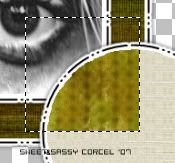
27.Deselect.
28.Step in the first layer pattern paper of your circle, and change the blend mode to Overlay.
29.Add some embellishments to your image.
30.Add a text with a nice font or alpha.
31.Merge your layers visibles.
32.Don't forget to add your watermark and the ©info of your image.
33.Crop the excess of your canvas, finally flatten all and save your work.
Them Done!, thanks and I hope you've enjoyed! Tutorial write on April, 6 '07 by AngieCorcel. This tutorial is my own creativity, any resemblance to any other is purely coincidentaly.
----------------------------------------------------------------------

