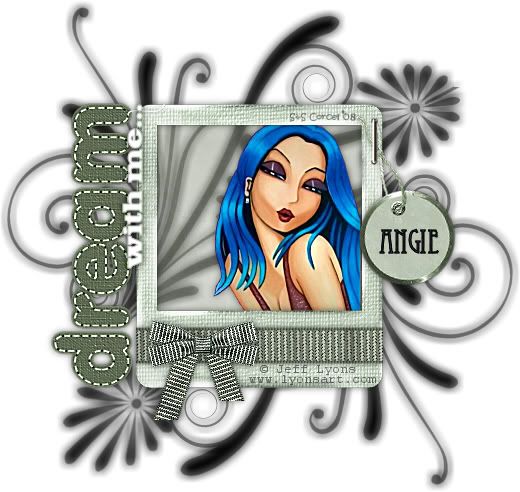
Supplies: PSP, doodleART and scrap elements from ©Sentimental Style, Font and Tube of your choice, I use artwork from ©Jeff Lyons,
1.Open in your Psp a new canvas 600x600 pixels, transparent.
2.Open all the elements you like from the scraps of your choice.
3.Copy the doodleArt [SS_Imagine], paste as new layer in your canvas, duplicate the layer.
4.Move the first layer doodle up to the left.
5.Now in the second layer doodle [duplicate], go to: Image/Flip, back to Image/Mirror, move the doodle down to the right.
6.Active your Freehand Selection Tool: set to: Replace Mode, Feather 0.
7.Carefully select around the flower, hit in the center to get selected, and in the layer palette make right click and Promote Selection to Layer, and deselect.
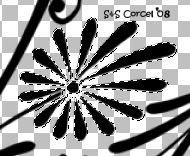

8.Repeat this step with the other flower in the duplicate layer.
9.Move the flowers to the corners, you may have some like this:

10.Merge layers visible, and duplicate this layer.
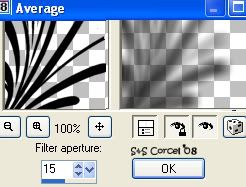
11.In the copy layer low the opacity 70%, and in the merge layer apply blur, go to: Adjust/Blur/Average 15.
12.Now copy one of the frames from the scrap [SS_Imagine_Frame] you can use the one with ribbon or the plain and assamble your own ribbon, and Paste As New Layer, resize if needed.
13.Active your Magic Wand Tool and select inside of the frame, go to: Selections/Modify/Expand 10.
14.Add a new layer, copy one scrap paper and Paste Into Selection [in the new layer], deselect, and arrange this layer back to the frame, low the opacity 50%.
15.Now add a Drop Shadow to the frame, v-h 0, opc 50, blur 10, color black.
16.Copy your tube and Paste As New Layer [between the frame and paper], add same shadow before.
17.Copy the wordart [SS_Daydreams_wordART_Dream], Paste As New Layer, rotate to the left 90º.
18.Go to: Adjust/Hue & Saturation/Colorize [set the color you like]
19.For the text [with me] just use the bold font, color white, drop shadow, rotate to the left, move next to the Dream word.
20.Now Copy the tag [SS_SpringFling_Tags], arrange and colorize as you like.
21.Add you nick with a nice font and place it over the tag.
22.Finally add your watermark and the ©Info of your tube, Merge layers visible, crop the excess your image, flatten all and save your work.

Them Done!, thanks and I hope you've enjoyed! Tutorial write on April 9 '08 by AngieCorcel. This tutorial is my own creativity, any resemblance to any other is purely coincidentaly.
--------------------------------------------------------------------

