
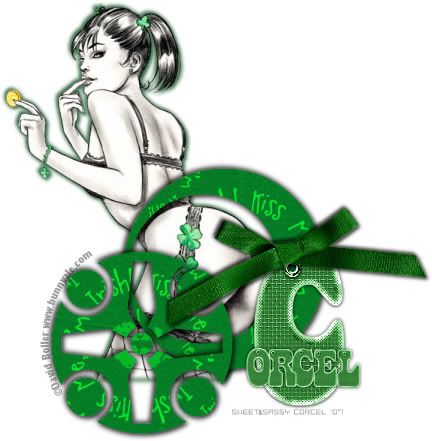
Supplies: Psp, Alpha Blue Jackpot HERE or HERE & Scrap Paper HERE & Bow HERE from ©Melissa SentimentalStyle, Font Circle Things 2 HERE, Tube of your choice. I use artwork from ©David Boller.
1.Open a new canvas 600x600 transparent in Psp.
2.Open the scrap paper SE_StPatricks_Paper_4 [duplicate & close original]
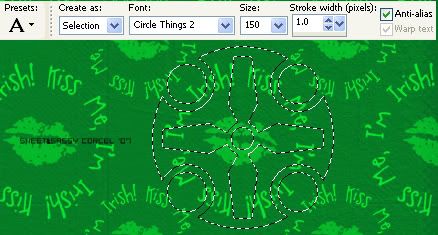
3.Open Font Circle Things 2 [minimize]
4.With your text tool active, draw a selection in the paper [I type letter o]:
5.Go to: EDIT/COPY & in your new canvas go to: EDIT/PASTE/PASTE AS NEW SELECTION.
6.Add a drop shadow, go to: EFFECTS/3D EFFECTS/DROP SHADOW: Vert & Horiz 2, Opac 80, Blur 7, Color black.
7.Repeat drop shadow but: Vert & Horiz -2.
8.Deselect, go to: SELECTIONS/SELECT NONE.
9.Now with your text tool active, draw a selection in the scrap paper & type a diferent letter [i type letter C].
10.Repeat the steps [5-6-7]
11.Not deselect at this point.
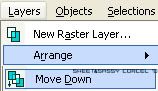
12.Go to: LAYERS/ARRANGE/MOVE DOWN:
13.Now Deselect, go to: SELECTIONS/SELECT NONE.
14.Copy and paste the Bow in a new layer of your canvas, add the same drop shadow before [step 6-7]
15.Copy and paste your tube in a new layer too [resize if needed] and arrange to bottom.
16.Add the same drop shadow before [step 6-7 but color #034A16]
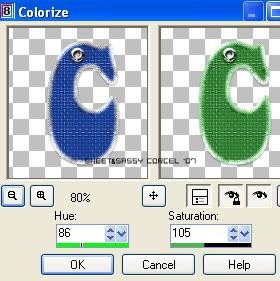
17.Open the alpha & select the first letter of your nick.
18.Change the color, go to: ADJUST/HUE & SATURATION/COLORIZE:
19.Add the same drop shadow before [step 6-7]
20.Add a new layer, copy and paste in this the rest of your letters [resize 25%]:
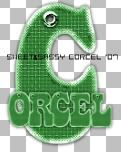
21.Add a drop shadow but with this settings: Vert & Horiz 0, Opac 80, Blur 5, color black.
22.Arrange the layer with the Bow at top of the images.
23.Add your watermark & don't forget the ©Info of your tube [low the opacity of those at 40%].
24.Go to: LAYERS/MERGE/MERGE VISIBLE.
25.Crop the excess of your image, flatten All layers, & save your work!
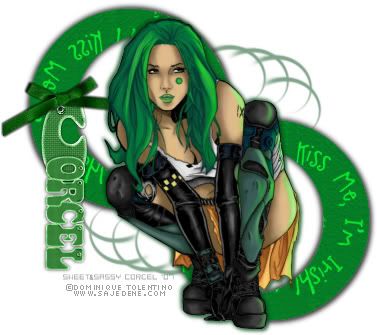
Here is another example. I use artwork from ©Dominique Tolentino.
Them Done!, thanks and I hope you've enjoyed! Tutorial write on March. 10 '07 by AngieCorcel. This tutorial is my own creativity, any resemblance to any other is purely coincidentaly.
------------------------------------------------------------------------


